The way people handle money has changed dramatically in recent years, and by 2026, digital wallets are no longer optional—they are essential. Among the most powerful and widely used options is Google Pay, a platform designed to make payments faster, safer, and more convenient than ever before. Whether you are buying groceries, splitting a bill with friends, or checking out online, Google Pay simplifies the entire process into just a few taps. For beginners, the idea of setting up a digital wallet might seem complicated, but the reality is surprisingly simple. Google Pay is designed with ease of use in mind, allowing you to go from download to fully functional in just minutes. This guide walks you through every step in a clear, engaging way so you can confidently set up Google Pay and start using it immediately.
A: Not exactly. In many places, Google Wallet is the app used to store cards and tap to pay, while Google Pay often appears during online checkout.
A: Often just a few minutes, though bank verification can make it take longer.
A: The bank may not support it, your region may differ, your device security may be incomplete, or verification may not have finished.
A: Usually yes for adding and verifying a card, because the app needs to communicate with Google and your issuer.
A: Yes for in-store tap-to-pay on supported phones, because NFC handles the short-range contactless connection.
A: Yes, most users can save multiple supported cards and choose a default one.
A: Google says there are no fees for making purchases on Google services, but banks and merchants can still apply their own charges.
A: You may not be able to make mobile wallet payments until it powers back on, so carrying a backup card is smart.
A: Yes, in supported countries and on supported devices, after adding an eligible payment method.
A: Add one main card, verify it, enable screen lock and NFC, then make one small test purchase before relying on it daily.
What You Need Before You Begin
Before diving into the setup process, it helps to make sure you have everything ready. Google Pay works best when a few key elements are in place, and having them prepared will make the setup smooth and frustration-free.
First, you will need a compatible smartphone. Most modern Android devices support Google Pay, especially those equipped with near-field communication technology, commonly known as NFC. This feature allows your phone to communicate with payment terminals for contactless transactions.
You will also need a Google account. This acts as the foundation for your Google Pay experience, connecting your payment methods, transaction history, and security settings. If you already use services like Gmail or Google Drive, you are ready to go.
Finally, have your payment method handy. This could be a credit card, debit card, or a supported bank account. Some banks allow instant verification, while others may require a quick confirmation step. With these essentials in place, you are fully prepared to begin.
Downloading and Opening Google Pay for the First Time
The first step is getting the app onto your device. Google Pay is available through the Google Play Store and comes pre-installed on many newer Android phones. Once installed, opening the app for the first time introduces you to a clean and intuitive interface designed to guide you through the setup process.
When you launch Google Pay, you will be prompted to sign in with your Google account. This step ensures that your data is securely tied to your personal profile. After signing in, the app may request permissions such as access to your device’s NFC functionality and location services. These permissions help enable contactless payments and improve your overall experience.
The onboarding process is streamlined, meaning you will not be overwhelmed with complicated instructions. Instead, Google Pay gently walks you through each step, making it easy to understand what to do next. Within moments, you are ready to begin adding your payment methods.
Adding Your Payment Method the Right Way
Once inside the app, the next step is adding a payment method. This is where Google Pay truly begins to function as your digital wallet. You can add a credit card, debit card, or bank account depending on your preferences and what is supported in your region.
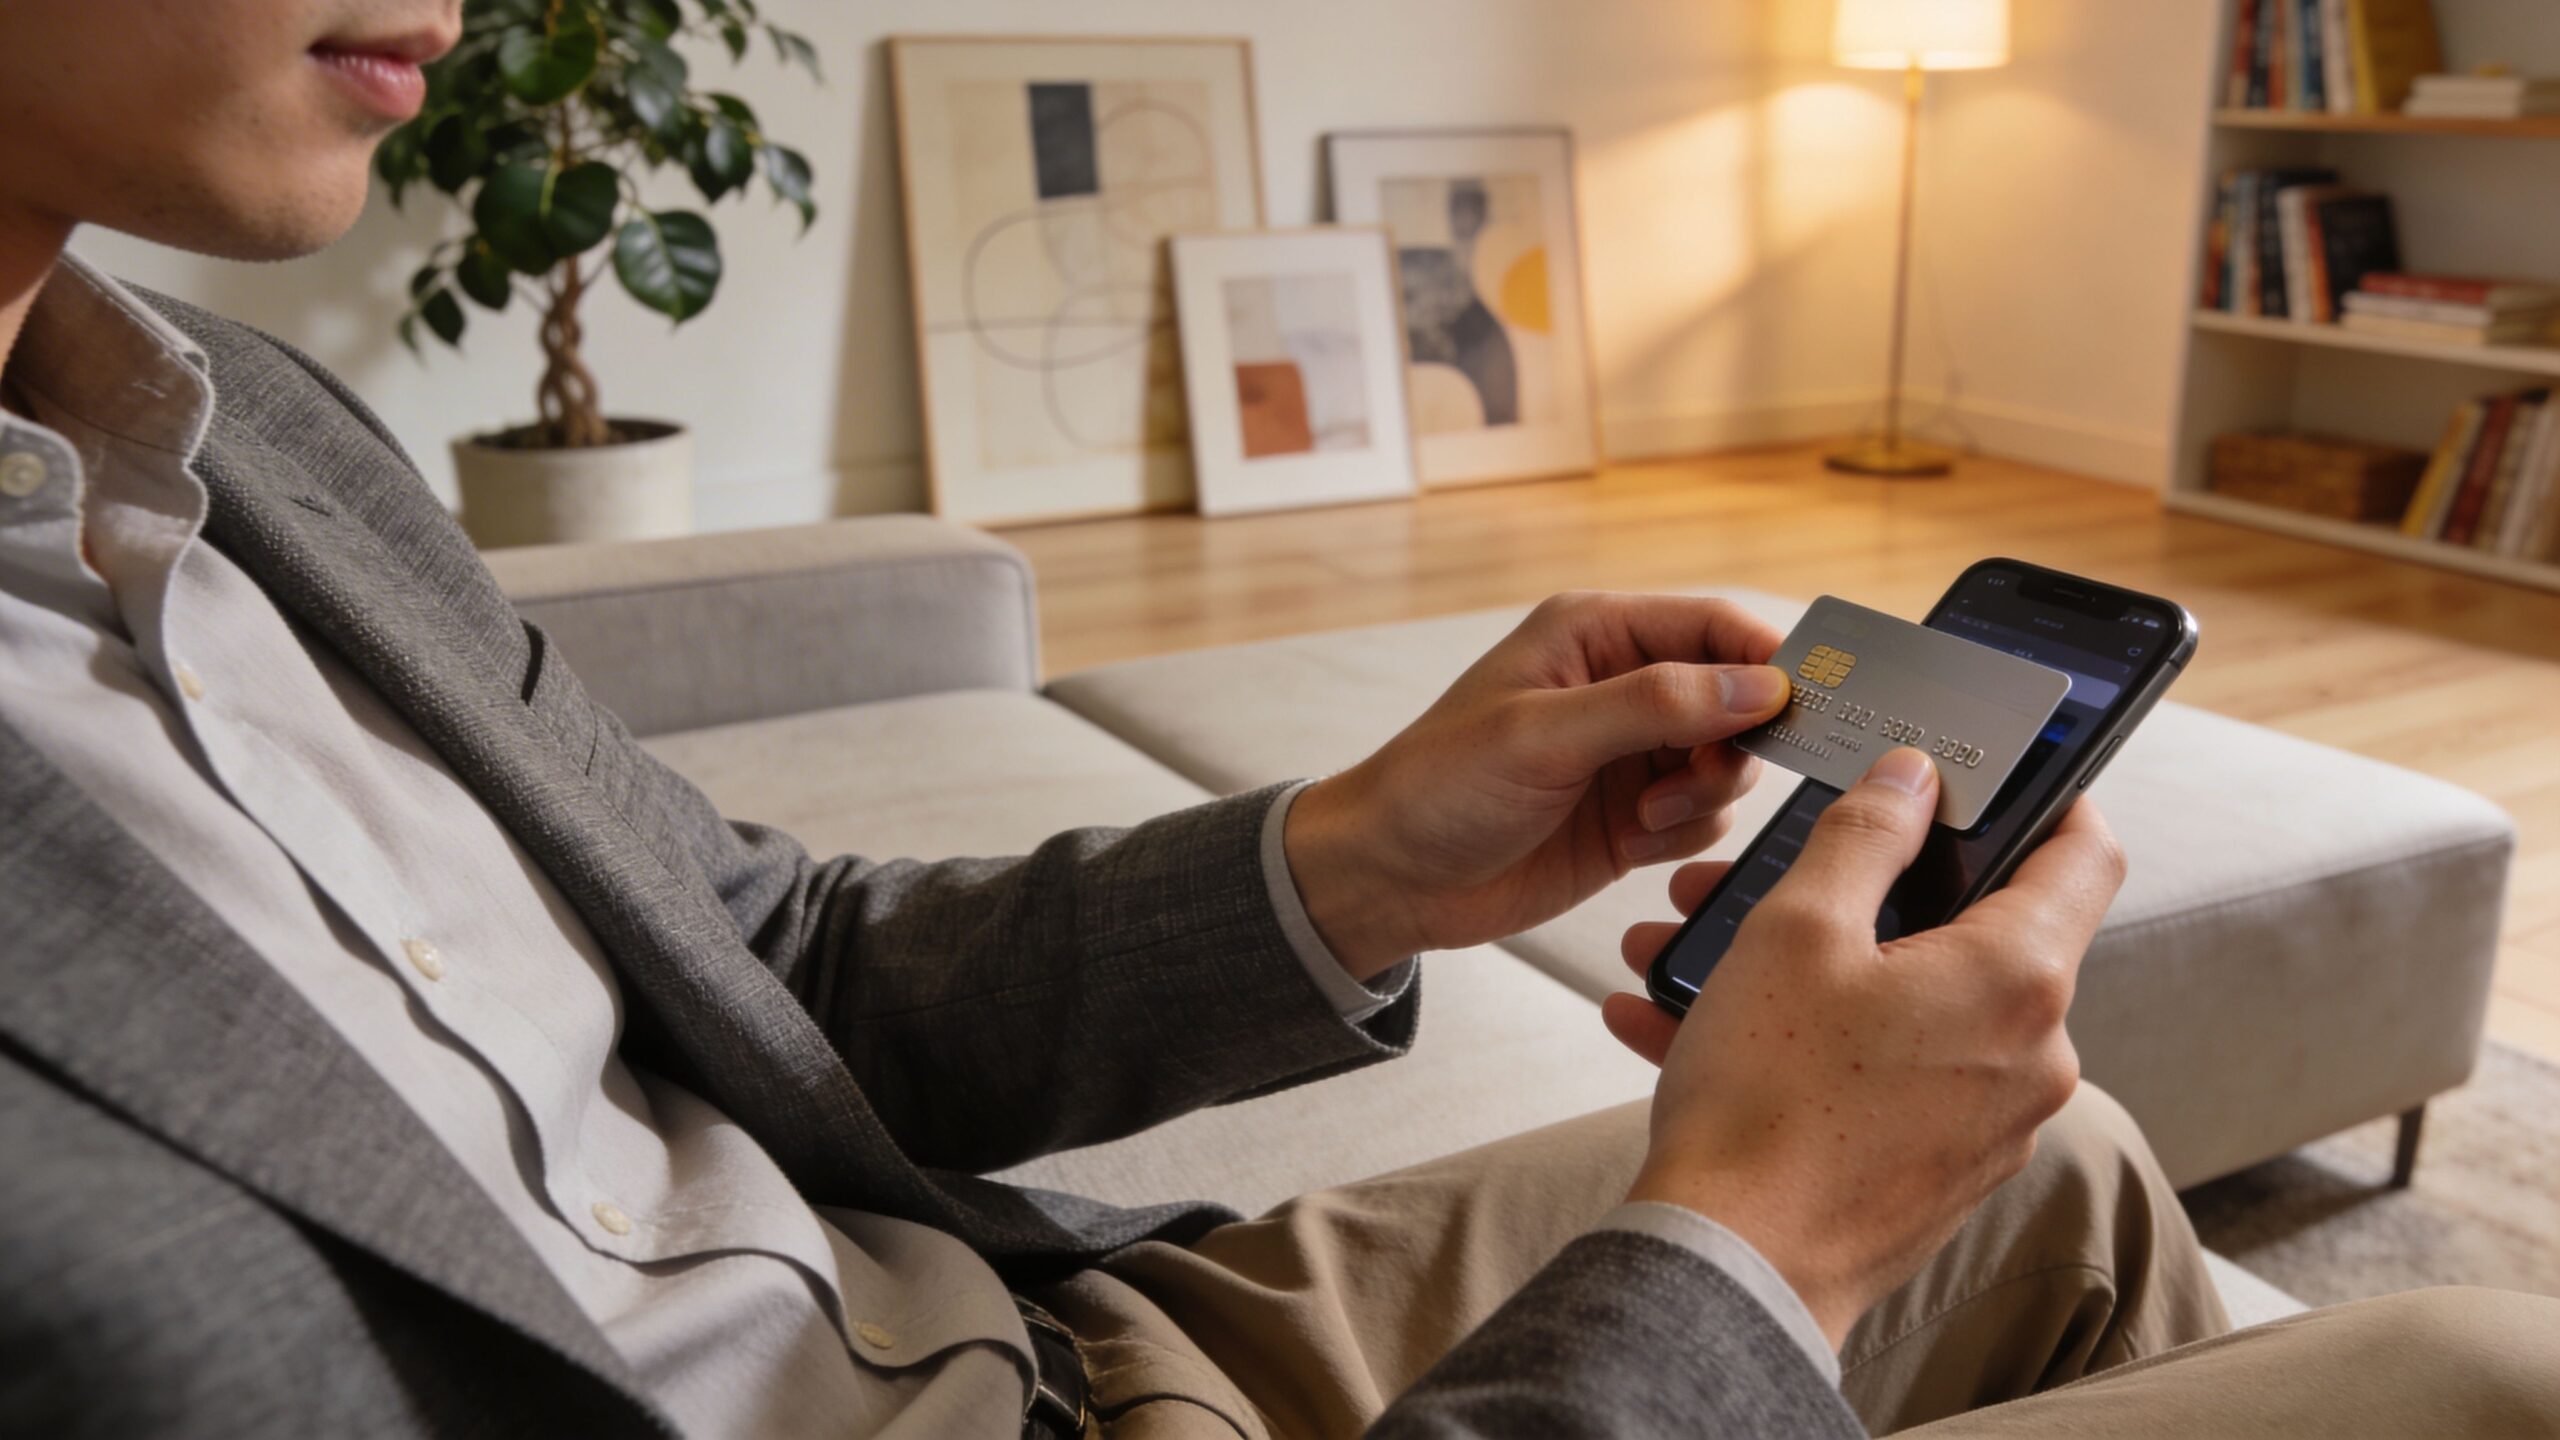
To add a card, you can either manually enter the details or use your phone’s camera to scan the card instantly. The scanning feature speeds up the process and reduces the chances of input errors. After entering your information, your bank will typically verify the card. This may involve a one-time code sent via text, email, or your banking app.
Verification is a crucial part of the process because it ensures that only authorized users can link payment methods. Once verified, your card is securely stored in Google Pay using advanced encryption and tokenization technology. This means your actual card number is never shared during transactions.
You can add multiple payment methods and choose a default option for convenience. This flexibility allows you to switch between cards depending on the situation, whether you are managing expenses or taking advantage of specific rewards programs.
Enabling Contactless Payments in Seconds
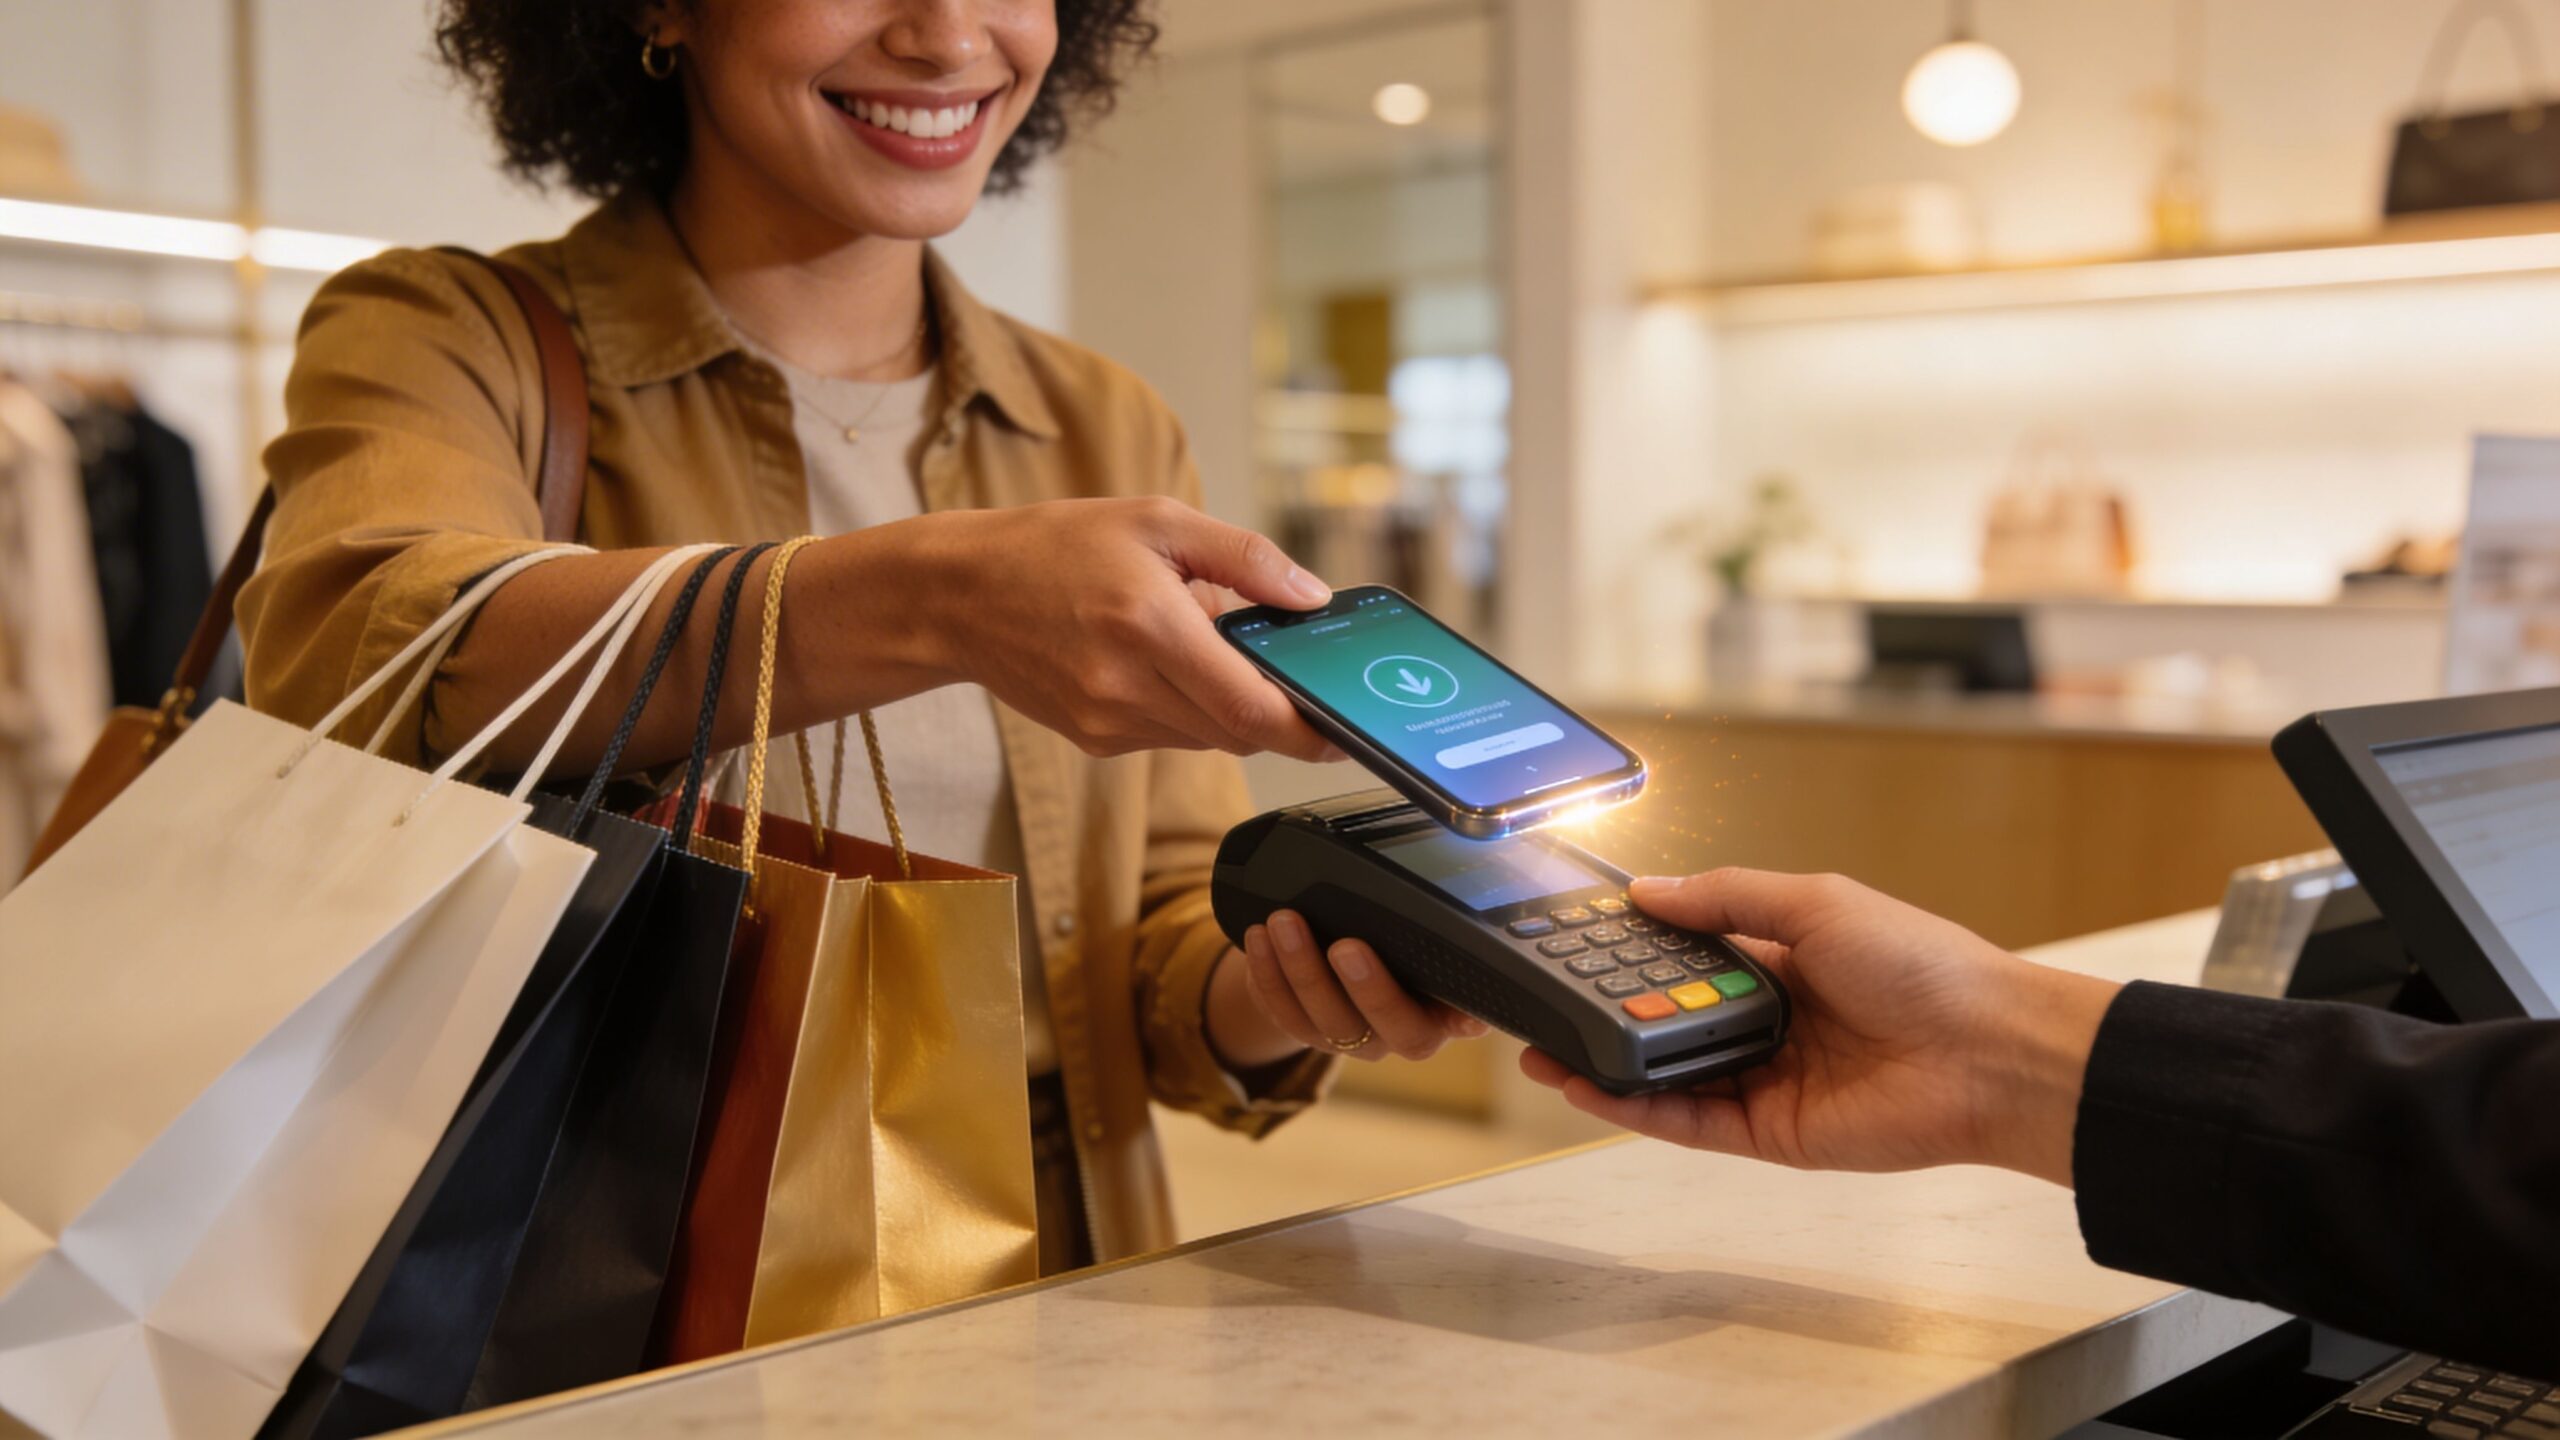
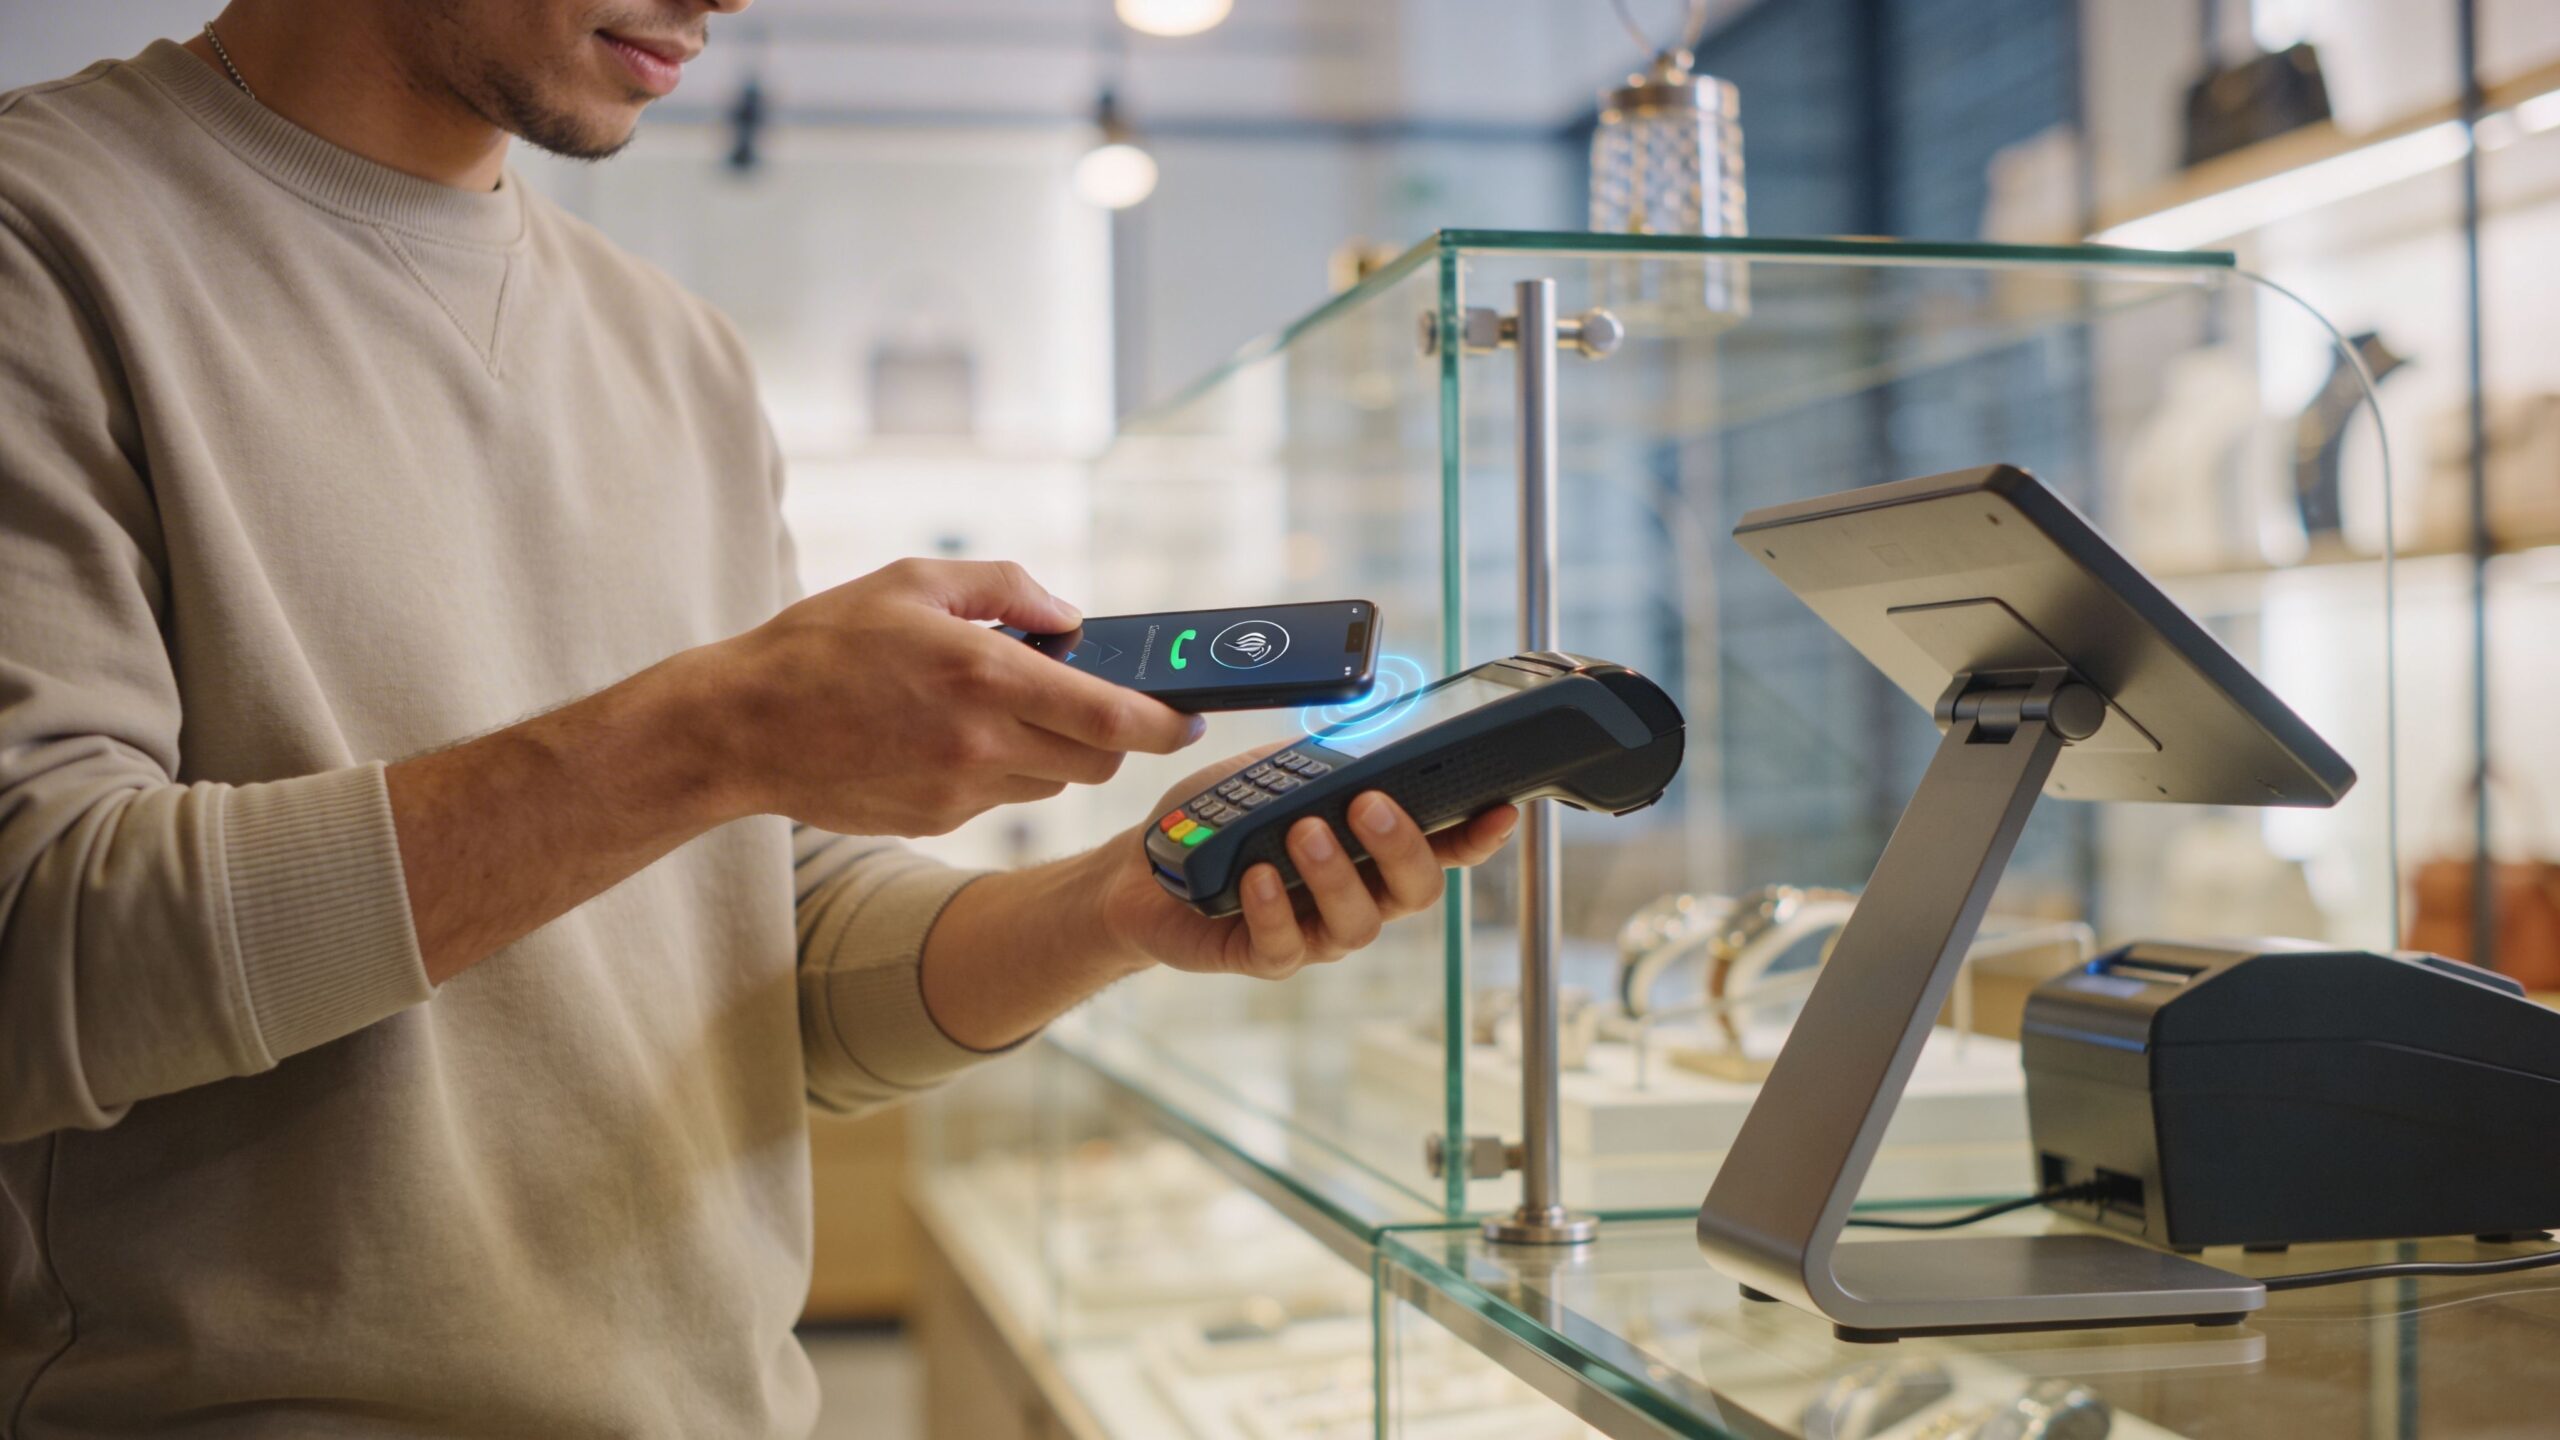
One of the most powerful features of Google Pay is contactless payment, which allows you to tap your phone at a checkout terminal instead of using a physical card. Setting this up takes just a few moments but opens the door to a much faster and more modern payment experience.
To enable contactless payments, make sure NFC is turned on in your device settings. Google Pay will often prompt you to activate it if it is not already enabled. You will also need to set Google Pay as your default payment app so your phone knows which service to use when making transactions.
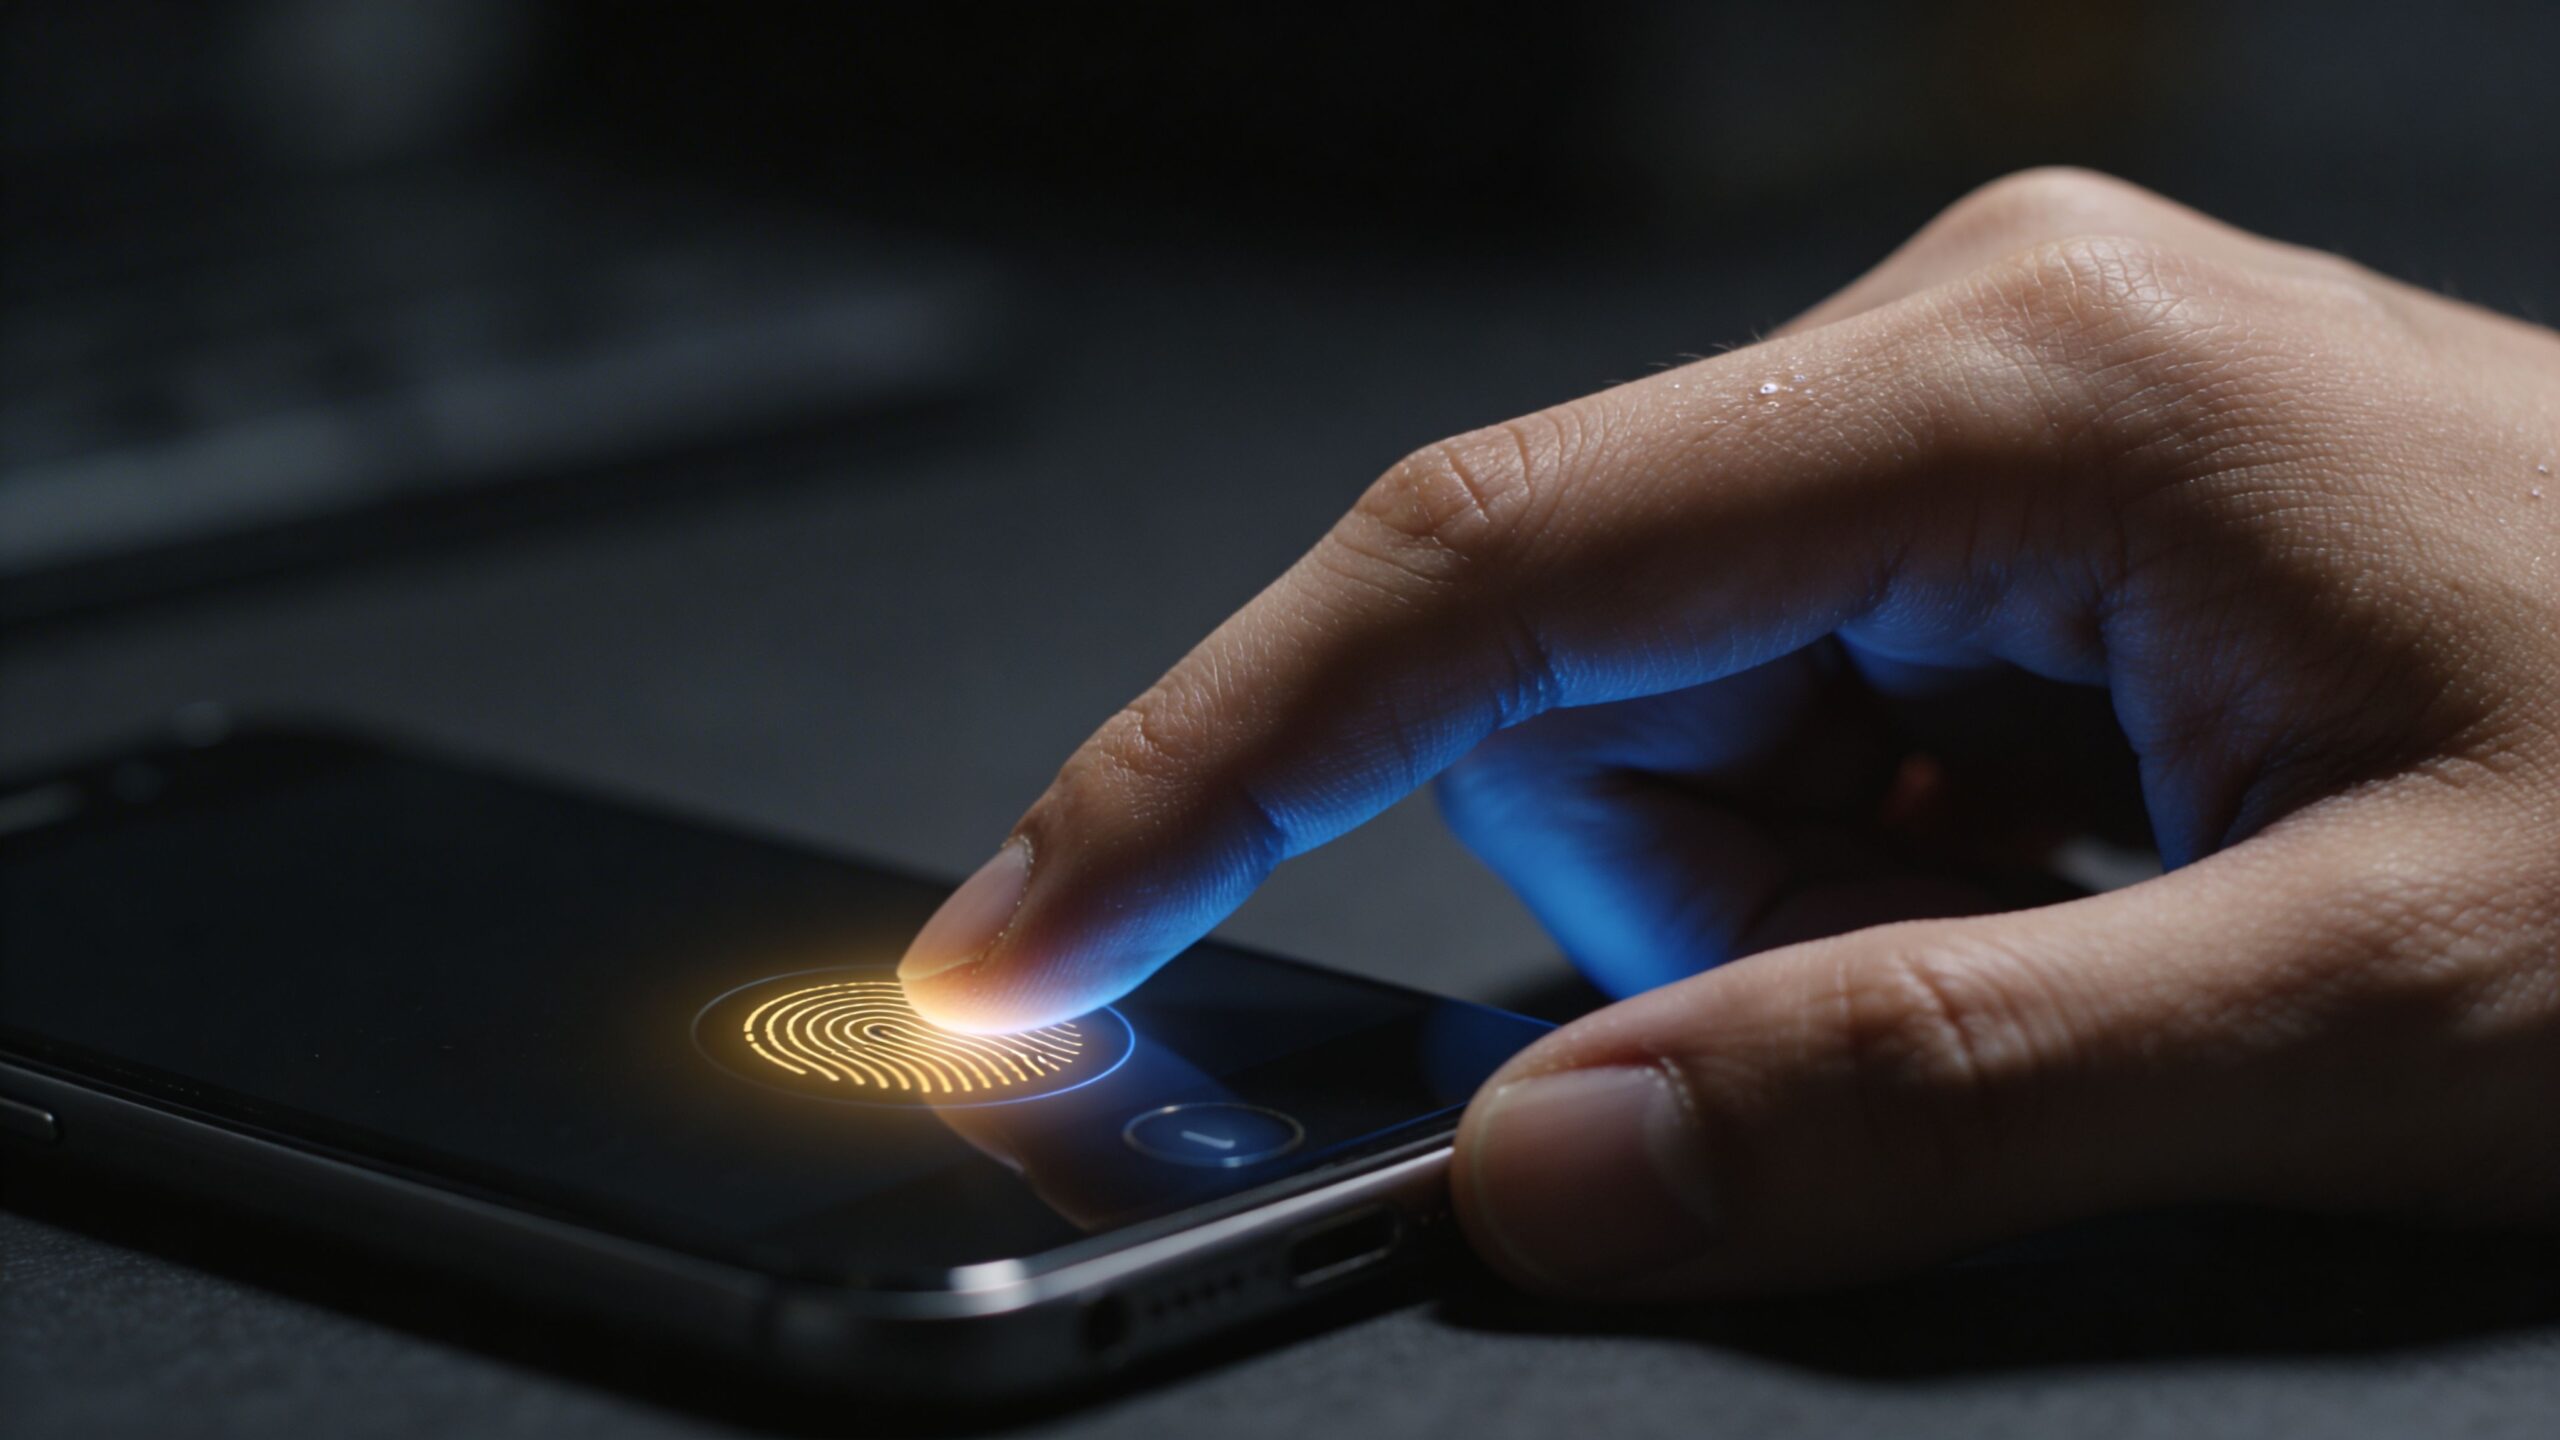
Security plays a key role here. Before you can use contactless payments, your device must have a screen lock enabled. This could be a PIN, pattern, fingerprint, or facial recognition. This requirement ensures that only you can authorize payments.
Once everything is set, using contactless payments is as simple as unlocking your phone and holding it near a compatible terminal. The transaction happens almost instantly, providing a seamless experience that feels both futuristic and practical.
Customizing Your Google Pay Experience
After the initial setup, Google Pay allows you to personalize your experience in ways that make it even more useful. Customization options help tailor the app to your habits, making everyday transactions smoother and more efficient.
You can start by organizing your payment methods and selecting a default card. This is especially helpful if you use different cards for different purposes, such as one for daily spending and another for rewards or travel.
Google Pay also lets you add loyalty cards, transit passes, and event tickets. This transforms your phone into a centralized hub for everything you carry in your wallet. Instead of juggling multiple apps or physical items, everything is stored in one convenient place.
Notifications can also be customized to keep you informed about transactions, offers, and updates. Real-time alerts help you track your spending and quickly spot any unusual activity. These small adjustments enhance the overall experience and make Google Pay feel like a personalized financial assistant.
Using Google Pay in Real Life
Once everything is set up, the real value of Google Pay becomes clear in everyday situations. Whether you are shopping, dining, or sending money, the app integrates seamlessly into your daily routine.
In physical stores, contactless payments allow you to check out quickly without fumbling for your wallet. The process is fast, secure, and widely accepted at modern retailers. Online shopping becomes equally effortless, as Google Pay autofills your payment details and speeds up checkout.
Peer-to-peer payments are another major advantage. Sending money to friends or family takes just seconds, making it ideal for splitting bills, paying rent, or reimbursing someone. All you need is their phone number or email address.
Google Pay also shines when traveling. With support for transit systems, boarding passes, and international payments, it simplifies logistics and reduces the need for physical documents. This versatility makes it one of the most practical tools you can have on your device.
Troubleshooting Common Setup Issues
While Google Pay is designed to be user-friendly, occasional issues can arise during setup. Understanding how to troubleshoot these problems ensures that you can quickly get back on track without frustration.
One common issue is difficulty adding a card. This can happen if your bank is not supported or if there is a mismatch in your information. Double-checking your details and contacting your bank usually resolves the problem.
Another issue involves contactless payments not working. This is often related to NFC settings or the device not being set as the default payment method. Ensuring that NFC is enabled and Google Pay is properly configured typically fixes the issue.
Verification delays can also occur, especially if your bank requires additional confirmation. In most cases, waiting a few minutes or requesting a new verification code solves the problem. Staying patient and following the prompts carefully will help you complete the setup successfully.
Step Into the Future of Payments With Confidence
Setting up Google Pay is one of the simplest ways to modernize how you handle money. In just a few minutes, you can transform your smartphone into a powerful digital wallet that is faster, safer, and more convenient than traditional methods. As digital payments continue to grow in 2026, tools like Google Pay are becoming an essential part of everyday life. They offer not only convenience but also a higher level of security and integration with the broader digital ecosystem. By following this step-by-step guide, you have everything you need to get started with confidence. From adding your payment methods to using contactless payments in real life, Google Pay makes every transaction smoother and more efficient. Once you begin using it, you may find it hard to imagine going back to cash or cards again.